Pre-Shoot Planning: Help your clients prepare
Your clients are looking for you to guide them during their photoshoot. Whether the water feature was part of their vision or yours, one cannot be OVER prepared for standing near (or in) the water during a photoshoot! Work with your client(s) to determine what their expectations are and let them know what to expect when they arrive on site. Depending on the specific conditions where you will be shooting, here are a few tips you can offer to ensure a successful experience.
What to Wear by the Water
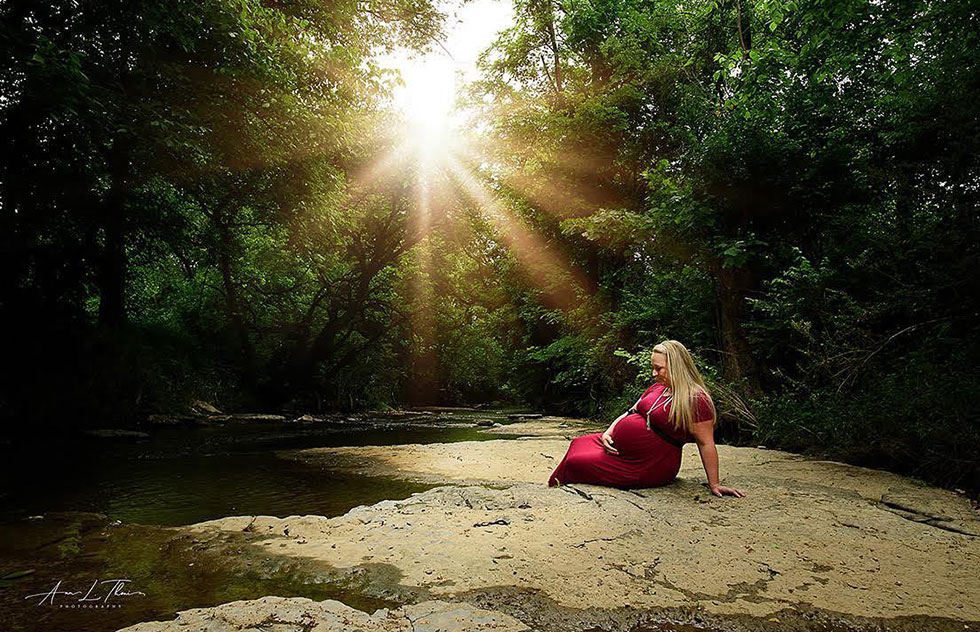
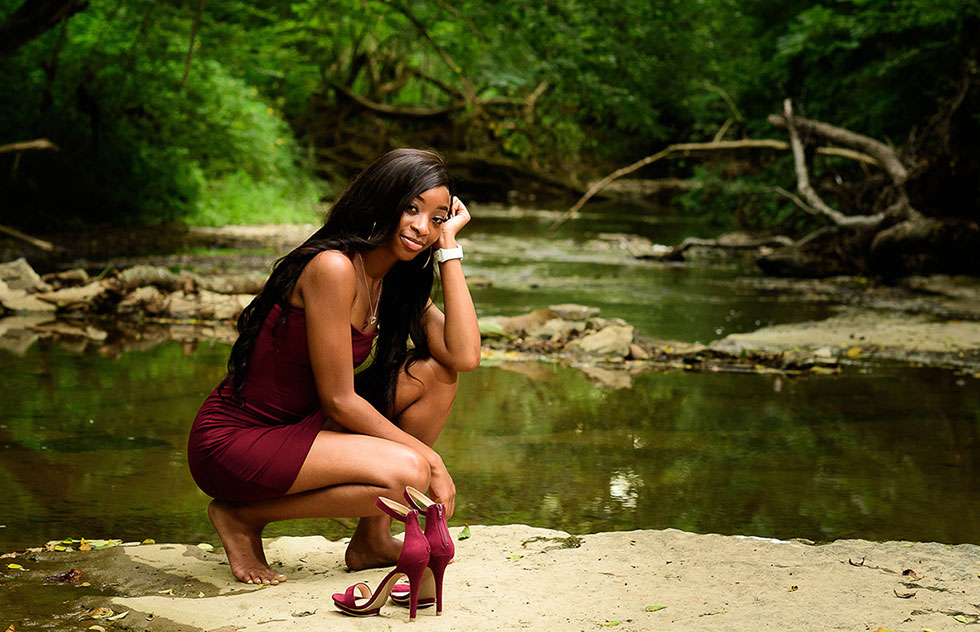
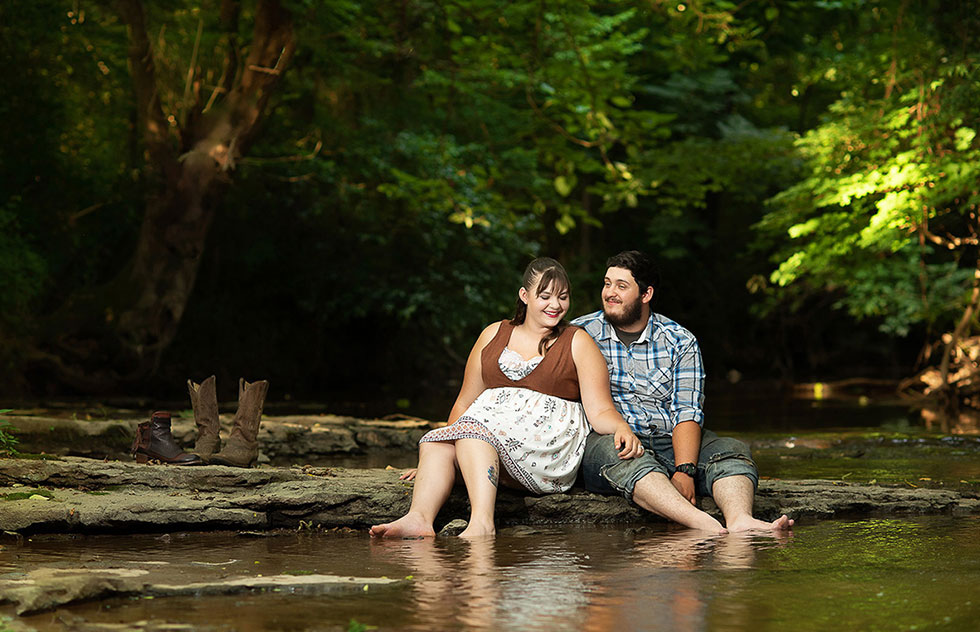
Choose your palette. Solid colors look best in outdoor locations full of texture. White is a good option if you know it is the same tone. Choose colors which won’t blend into the background, and variations of a similar color (i.e., shades of blues & white) creates cohesion without looking forced. If you are coordinating several family members, buy the clothes together, or at the very least, be sure they look good together before you arrive at the photoshoot.
Personalization in a Group Photo
If you want to add some personality or “pop” to your photos, add some accessories like hats, , unique jewelry, flowers, or suspenders. If you are shooting on a bright sunny day, avoid shiny jewelry which can cause a glare. And speaking of sun, be sure to wear sunscreen, and remove your sunglasses an hour before the session so your eyes can adjust to the bright light, and you aren’t forced to squint.
Choose the Right Kicks for the Footing
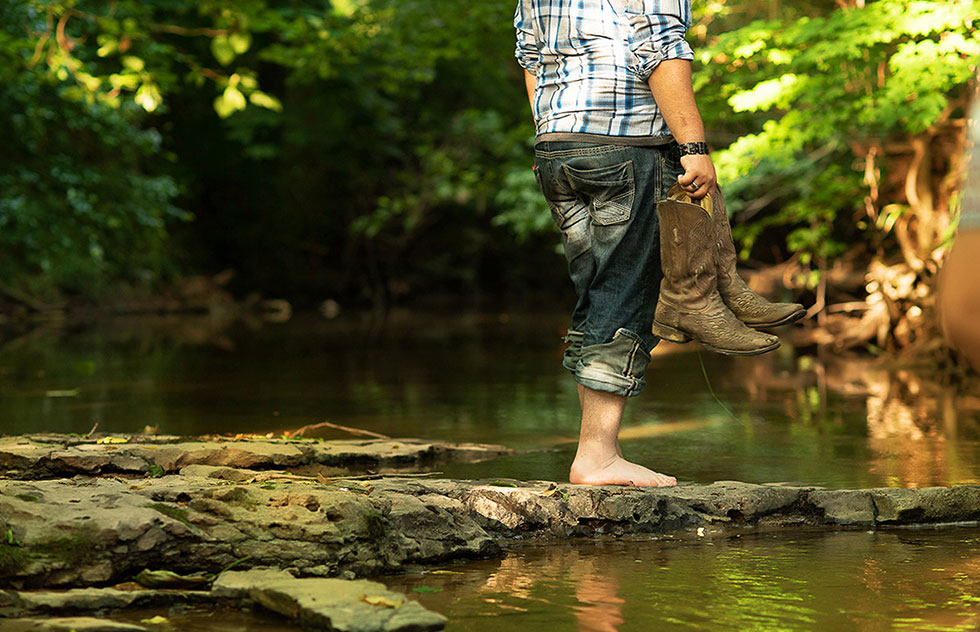
Think about your footwear. What will the footing be like? Stiletto heels don’t fare well in soft dirt or sand. Will any of you be standing in the water (on purpose)? Having the right shoes will make for happier feet. If you have something special that you want to show off, bring it; it’s always good to have options! And bare feet look great on the sand, so be prepared in case it is an option.
Kids Love Water
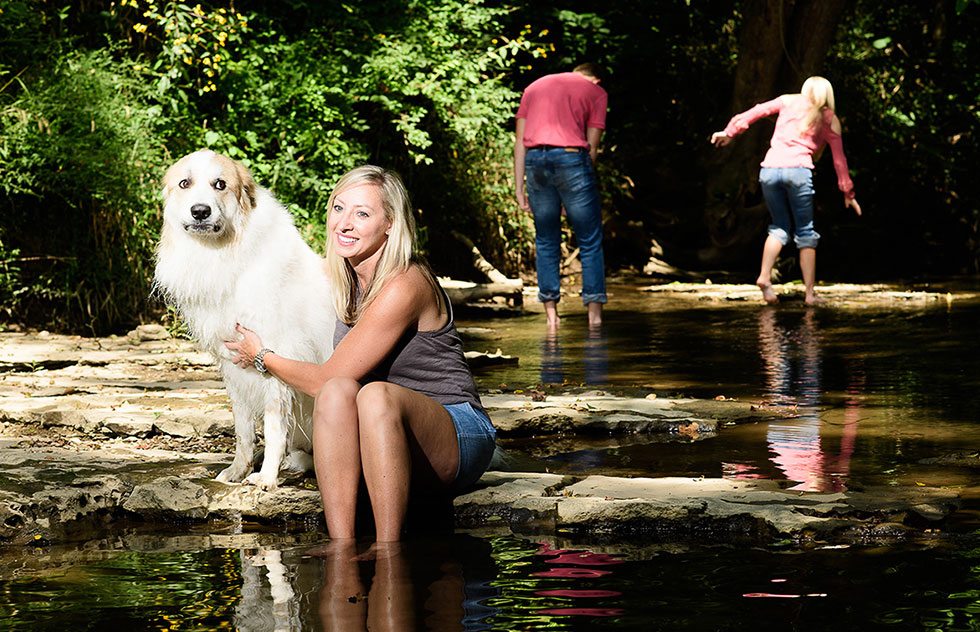
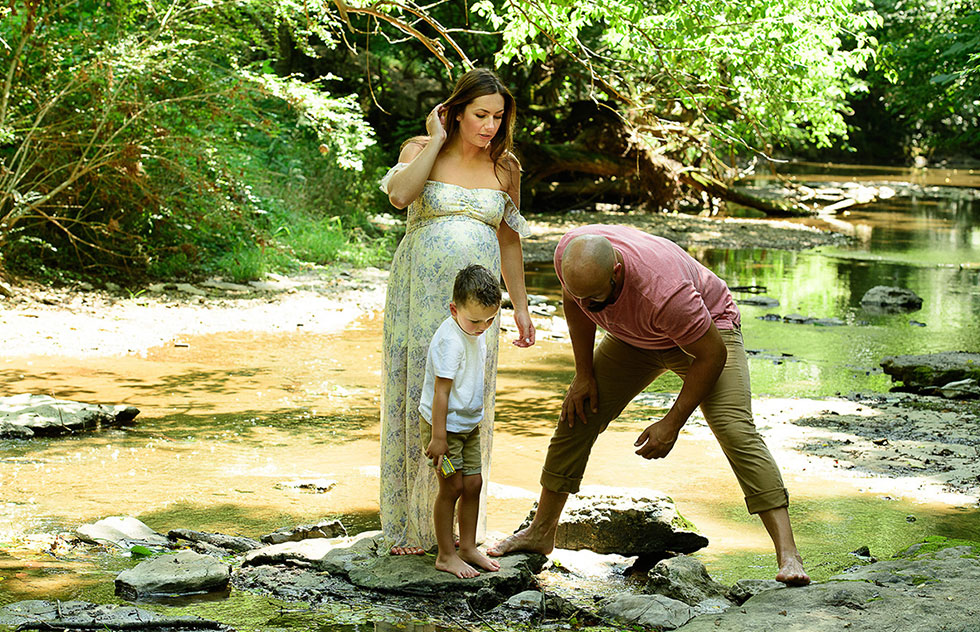
Bring a change of clothes or towel—just in case somebody gets wet, whether a planned part of the photoshoot or spontaneously. If kiddos DO end up in the water, never fear: these will be fun photos to add to the gallery! However, if you truly want to keep kids OUT of the water, bring toys or props; it can help them relax and provide a distraction.
Have a Flexible Mind about Your Experience
Sometimes the weather isn’t ideal, or a child gets wet. Rest assured that no matter what, you will get some fantastic pictures! If the lighting isn’t perfect, your photographer has tools to adjust for that. And even with nature’s vibrant colors, consider the beauty of black & white photos. They really do give an artistic feeling to your pictures.
Pre-shoot Planning: Take control of your outdoor shoot
Get Familiar with the Location
Scout the site with the following questions in mind: will you have enough room for your subjects and their vision and group size? Do you have enough room for your concept? What are their relationships—are there sub-groups you will be photographing? What features of the nearby water could have the biggest impact on the photos–both as a challenge in posing your subjects as an additional element of the photos?
And if there are kids in the shoot to draw in the sand, you will certainly gain brownie points with them!
These small adjustments will help you to capture moments your clients will cherish for years, and shots you will be proud to include in your portfolio!
Be the Consummate Expert
Bring supplies for your subjects’ comfort—chairs, a small fan, bottled water, or snacks on a hot day. Bug spray, a first aid kit, and a few towels make you look like an expert in outdoor photography…and a boy scout.
Take Advantage of the Unique Topography
Photo shoots near (or in) water can come with several types of footing, from grasses to sand, and rocks of all shapes, sizes, and slipperiness! Whether your clients can stand on the footing next to the water, in the water, or simply in front of it, have a plan to take advantage of a variety of angles. One of them may not work, so the more options, the better. If you do have access to sand, even if just a small piece of real estate, you could write or draw something in the sand which can be incorporated into a few photos. And if there are kids in the shot to draw in the sand, you will certainly gain brownie points with them!
But first…Out of the Water
Kids will be drawn to the water, and once they get in, you may not be able to get them out. In addition, unless they have separate clothes for each pose, they could be in wet clothing for the rest of the shoot. Plan your “dry land” shots before anybody wades in. Then, depending on the safety and weather conditions, let them (relatively) loose!
Technical Details—Making the Most of Water
Although water looks beautiful in most light, most photographers know that sunrise and sunset offer the most value for your time. There are a few other equipment tricks which can help you create the most breathtaking water backgrounds. One is to set your ISO as low as possible, and your shutter speed as fast as possible. The higher the speed, the more the water will freeze. If you shoot in burst mode, you will catch the best water movement. These small adjustments help you to capture moments your clients will cherish for years, and shots you will be proud to include in your portfolio!
Pro Tips from Ann
Lenses for Great Creek Shots
- 70-200 2.8 Lens
With this lens I always use at 200mm to get the gorgeous bokeh effect. This lens is a must for all photographers. - 20mm 1.8 Lens
With this lens and most lenses, I use the rule of thirds for all composition work, especially with this lens. - 85 1.4 Lens
This is a classic prime lens that most wedding photographers use. I shot weddings for fifteen years and the 85 makes beautiful photographs, period. The clarity and the bokeh it creates is magnificent. This is a go to lens for me for just about any occasion or shoot. It’s fast, it’s prime, and it will accomplish most any composition desired.
Lighting for Great Creek Shots
- Use the sun (of course) for backlight and starlight coming through the trees onto the creek. Look for some side light as well.
- A flash unit or two off camera can help. Lights on stands can literally sit in the creek if needed. Flash units are easy, cheap (depending on brand), and they are light. They don’t blow over unless you have a modifier (softbox) attached, which is super nice, especially if you’re on a time frame.